

Installing appwrite
To install appwrite you'll only need a working docker setup, no matter the OS. I successfully installed with Windows 10 with wsl2 enabled.
Here is the detailed instructions.
If you just want to run the command:
$ docker run -it --rm \
    --volume /var/run/docker.sock:/var/run/docker.sock \
    --volume "$(pwd)"/appwrite:/usr/src/code/appwrite:rw \
    --entrypoint="install" \
    appwrite/appwrite:0.12.1
The installer will ask some questions, after you are done with those as well head over to your installation link (for me: http://localhost:80) and create an admin user, make sure to remember the admin user email and password.
Let's create our project by clicking on the Create Project button, you should see somehing like this:
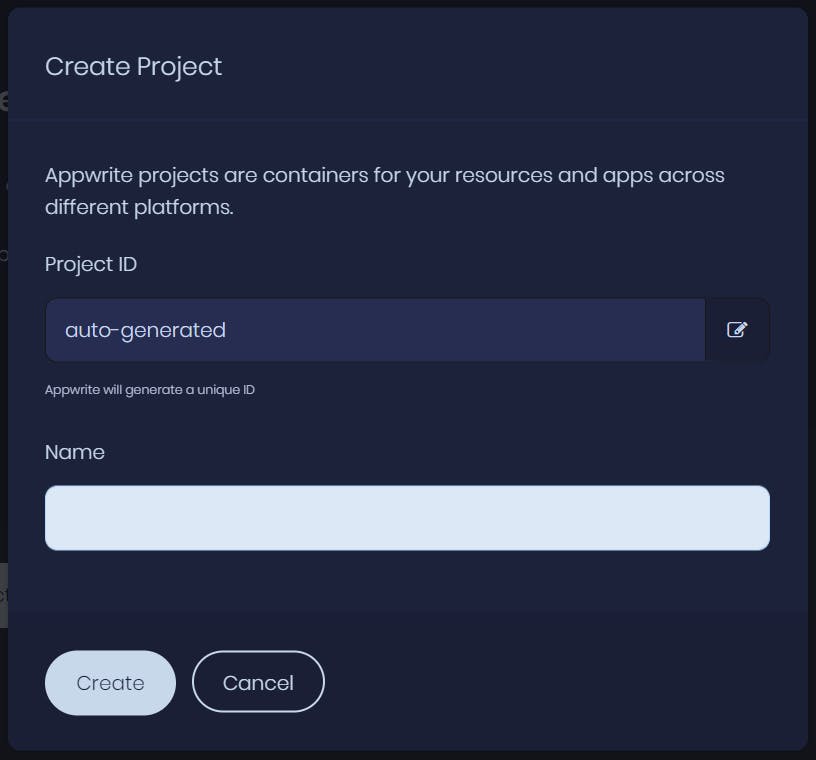
I'll name my project GuideR, but the name is arbitrary.
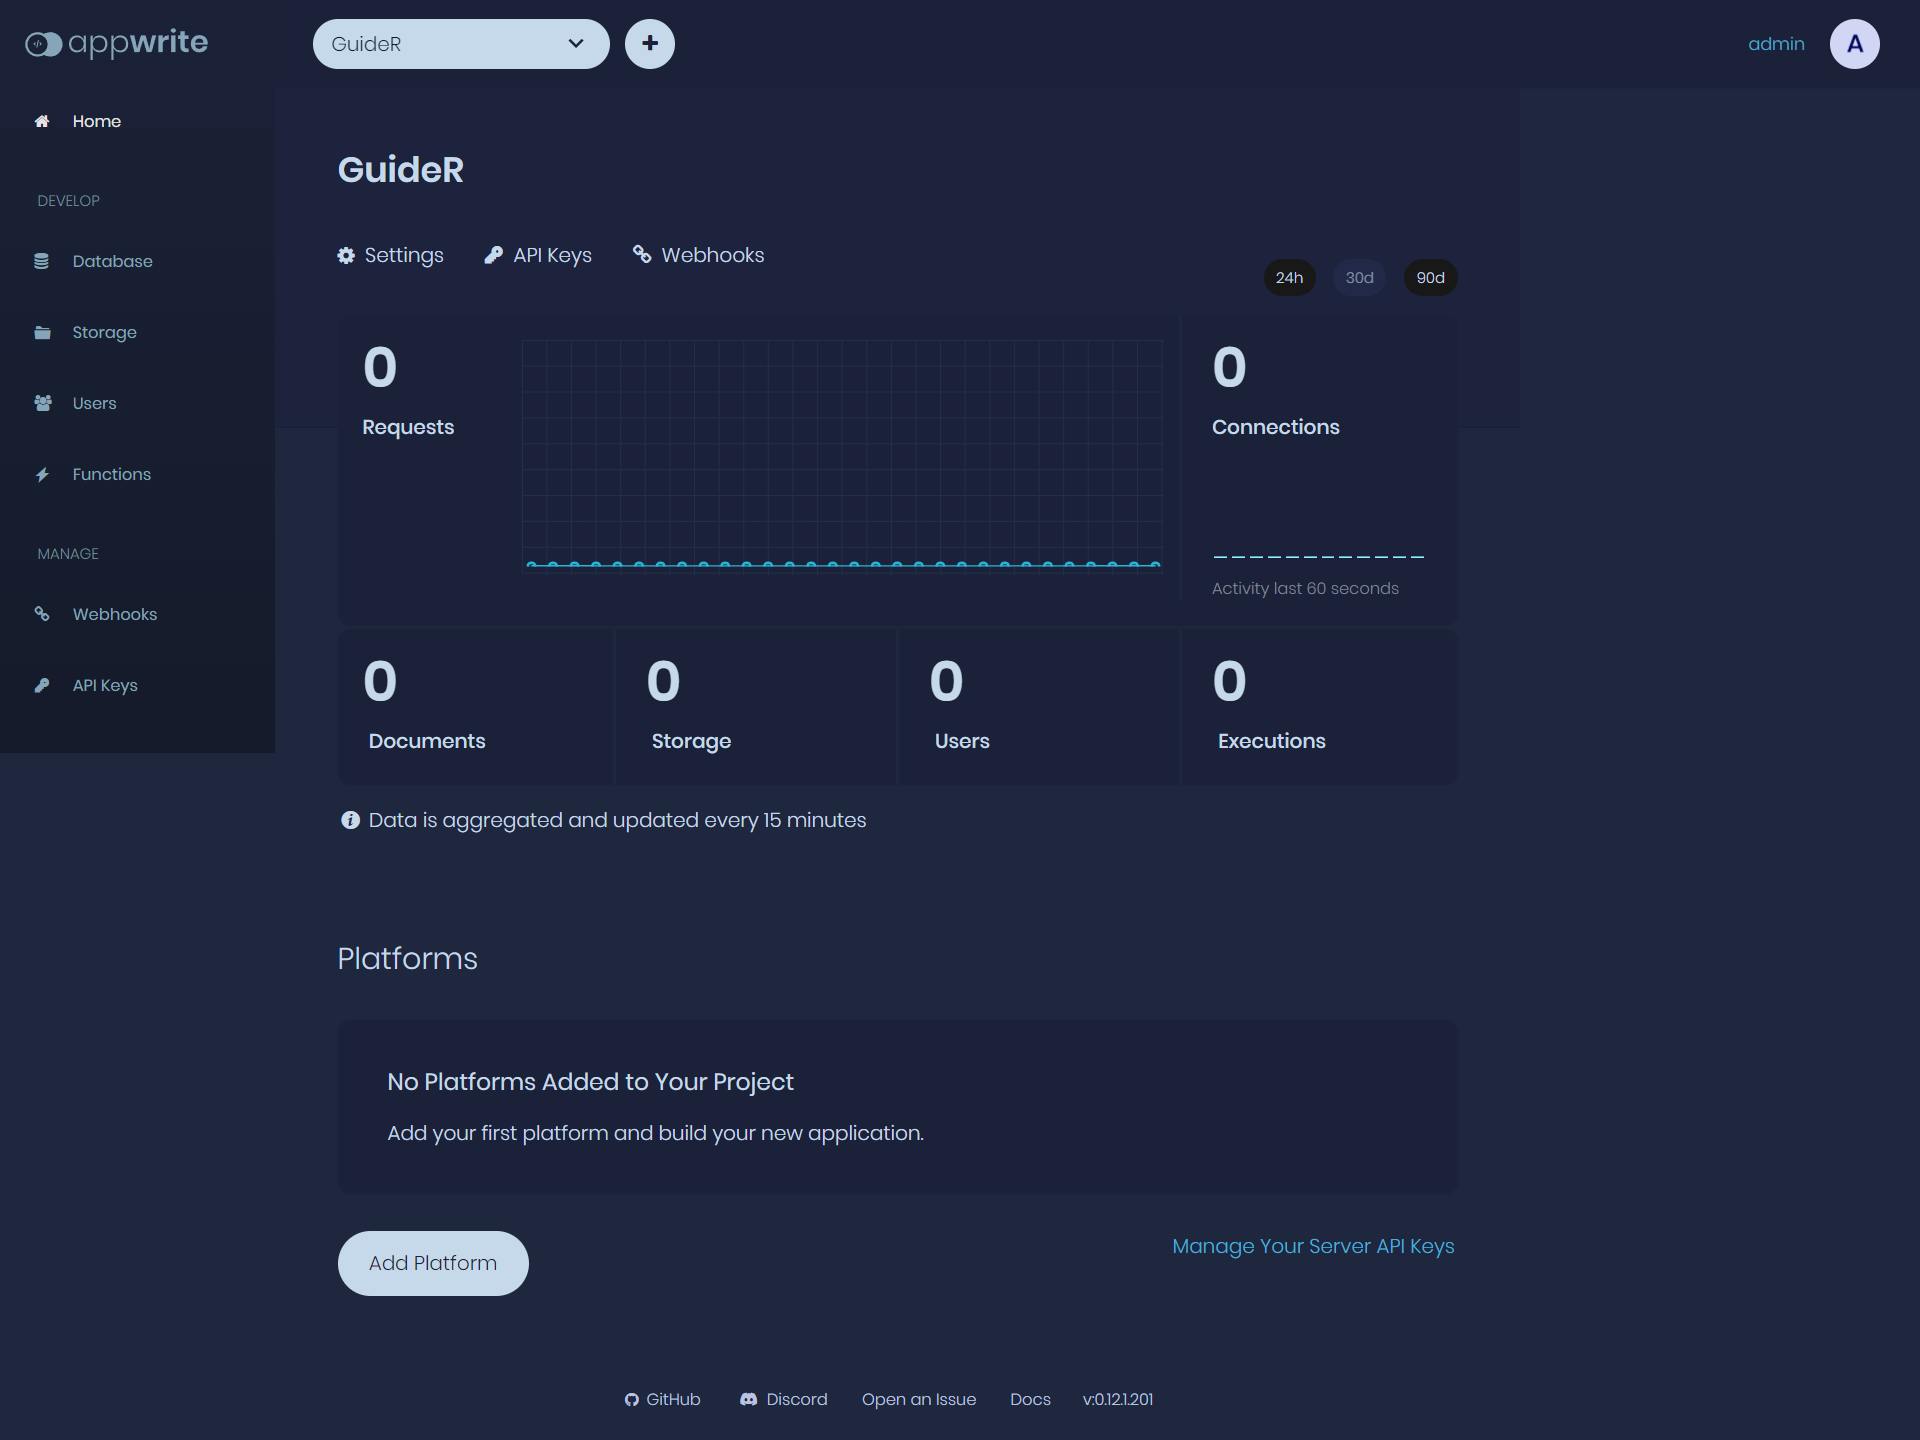
Here is how it should look like after fresh creation:
To avoid CORS issues we'll have add our frontend URL as a new platform, you can do that by clicking on the Add Platform, then choose New Web App -- here is my example:
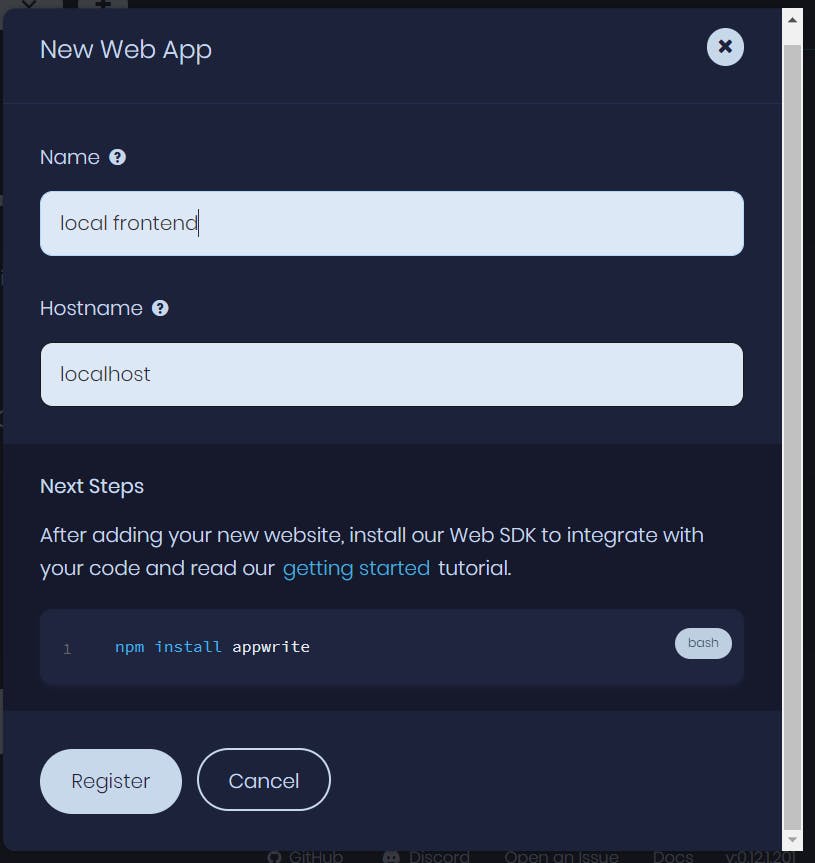
Aaand we are pretty much done with setting up our Appwrite to accept requests from Angular 😊
Angular and appwrite web sdk
For the frontend side I'll use NX and angular.
We could simply use the sdk inside the components, but that's not how you should do it an angular app. First of all let's install the npm package:
$ npm install appwrite --save
After npm finishes we are pretty much good to go. We'll spice things up a bit to avoid using paths like ../../.. and we will use injection tokens to configure projectId,
endpoint and ofc we could extend this solution in the feature.
Configuring through injection token
I've already wrote an introduction about injection tokens, we'll use the same approach here. We'll create a token and provide value to it in a module, we'll just pass down the env appwriteConfig part, nothing fancy is needed.
Let's break it down what we'll be actually creating:
- interface for env and
appwriteConfig- type safety - Token around
appwriteConfiginterface - to be able to provide it later on - Provide it in a module (for now app.module) - reading it from our trusty
environment.ts
For the interfaces I used NX to generate a single ts lib and rewrote to:
export interface AppwriteConfig {
  endpoint: string;
  projectId: string;
}

export interface Environment {
  production: boolean;
  appwrite: AppwriteConfig;
}
To create our token we can simply:
import { InjectionToken } from '@angular/core';
import { AppwriteConfig } from '@bencehornyak/interfaces';

export const APPWRITECONFIG: InjectionToken<AppwriteConfig> =
  new InjectionToken('AppwriteConfig token');
The interface has to provided so no default is good for us now 😊
Here is an example how we can provide a value for it:
...
  providers: [{ provide: APPWRITECONFIG, useValue: environment.appwrite }],
...
Aand that's it, with the provided values we can read it for our simple service:
  private sdk = new Appwrite();

  constructor(@Inject(APPWRITECONFIG) appwriteConfig: AppwriteConfig) {
    this.sdk.setEndpoint(appwriteConfig.endpoint);
    this.sdk.setProject(appwriteConfig.projectId);
  }
After our service is created we can use with the correctly set-up environment values.
Closing thoughts
I only highlighted to more important stuff, all the boilerplate was generated with NX, the full repo can be seen here.
As for the next step we'll look into the account part of the sdk and appwrite. We'll create registration and login forms.
Thank you for reading, and let's connect!
Thank you for reading my post! Feel free to subscribe to my email newsletter and connect on LinkedIn or Twitter 😊